One aspect of beekeeping that might not be readily apparent to the prospective beekeeper is the amount of woodwork that you do. For most of us, it’s not exactly carpentry. We are not taking planks of wood and transforming them into supers and frames. Rather, we buy pre-cut pieces that we fashion together ourselves. I use the world “fashion” quite loosely. The first time I bought wood to make beehive supers (the boxes), I made several mistakes. Including not using wood glue, and putting some of the pieces together inside out. Live and learn.
In a recent post I detailed how I am having an ant problem in the migratory cover of one of my beehives. In this post I will show you how to put together a telescopic cover. “Telescopic” in that it actually fits on and around the top super of the hive. It’s much sturdier and heavier than a migratory cover, which means it is also more expensive. This was my first time to build any kind of cover.
I don’t know why, but there is something kind of satisfying in hammering nails and making a big racket and seeing something coming into form. Maybe that’s part of the appeal of beekeeping: a connection to an earlier time, to simple and elegant, if still rough, craft.
1. The first step is to read the instructions carefully, and then go through a “dry” fit of the various components. Skip this step at your peril.
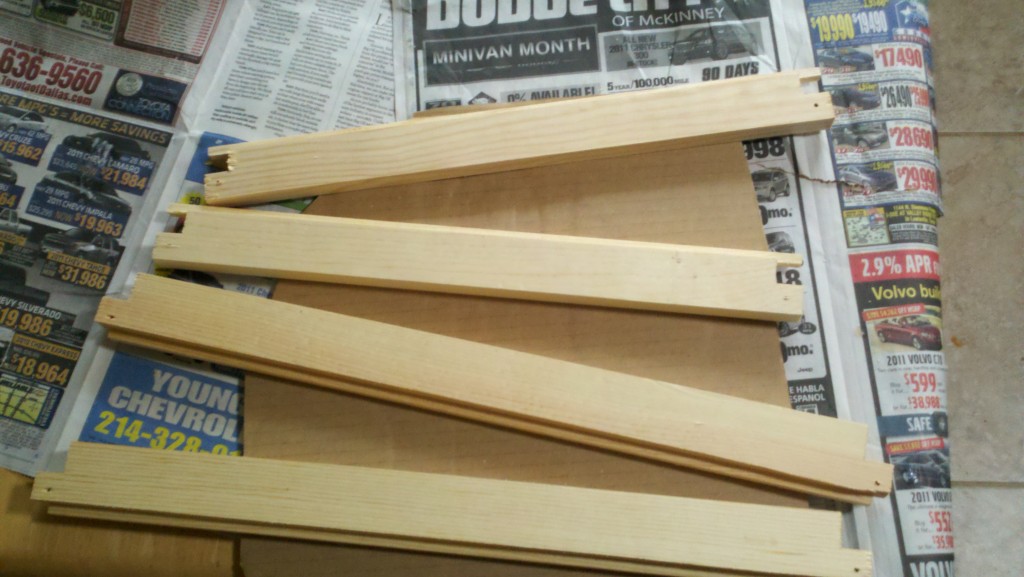
2. Then gather your components. Below are the four pieces of wood that form the “frame” of the cover:
3. Glue is applied to the ends pieces as depicted below:
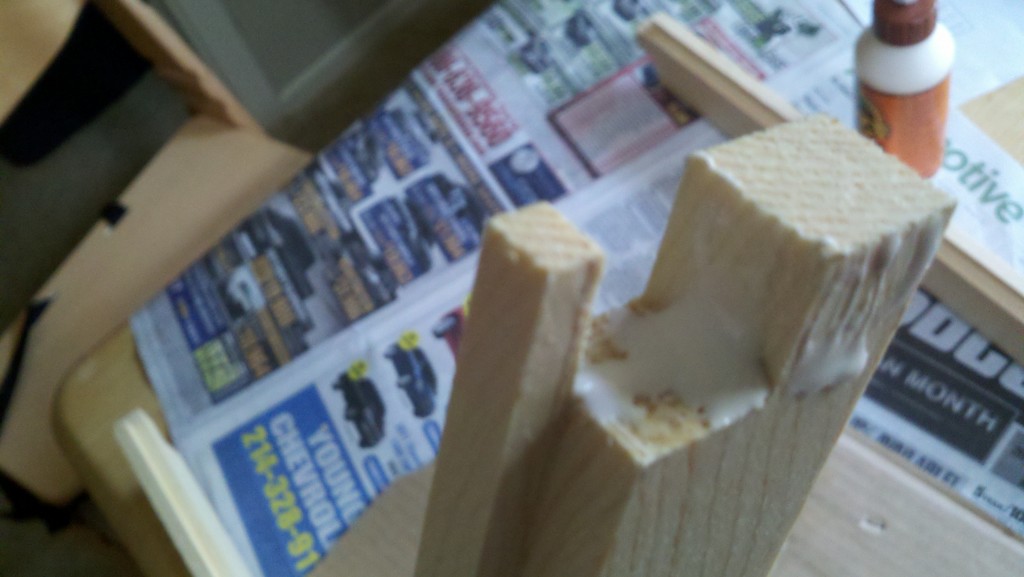
4. The end pieces are fitted together after having been glued. This shot shows the tolerances and fit of the pieces (and why it’s better to buy them than make them, if you don’t have the proper equipment and know-how).
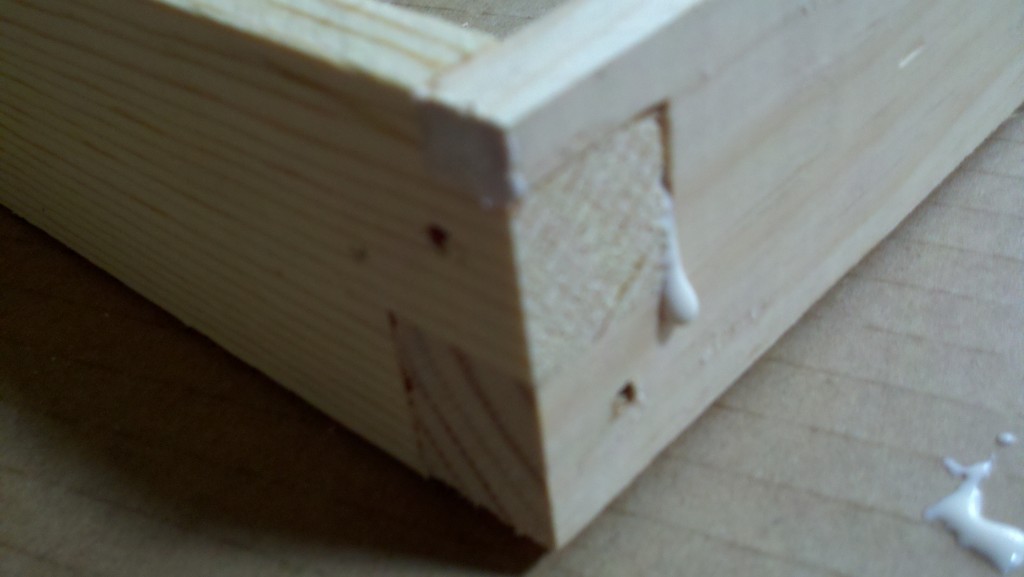
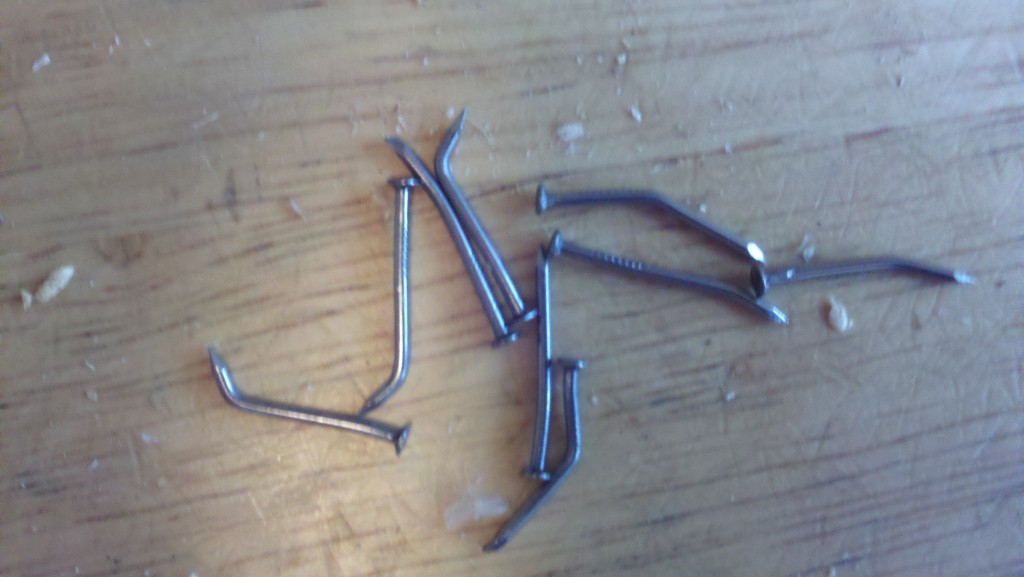
5. Next, the end pieces are nailed together with two nails in each corner. The holes are pre-drilled.
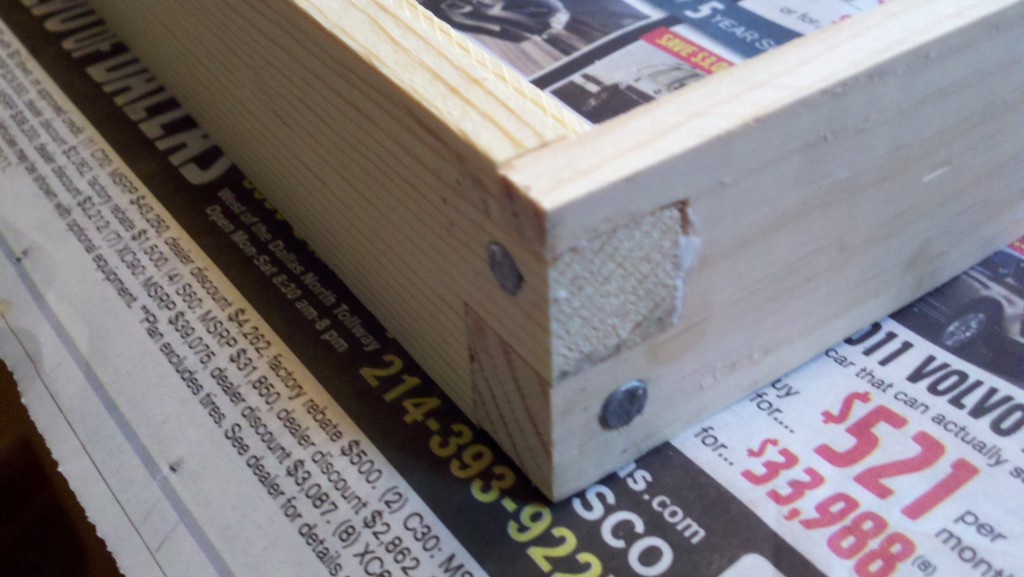
6. After all four corners have been nailed, you have formed the frame of the cover. The end pieces have a “ledge” that has been cut into them. It is in this ledge that the masonite board rests. I applied glue as can be seen below:
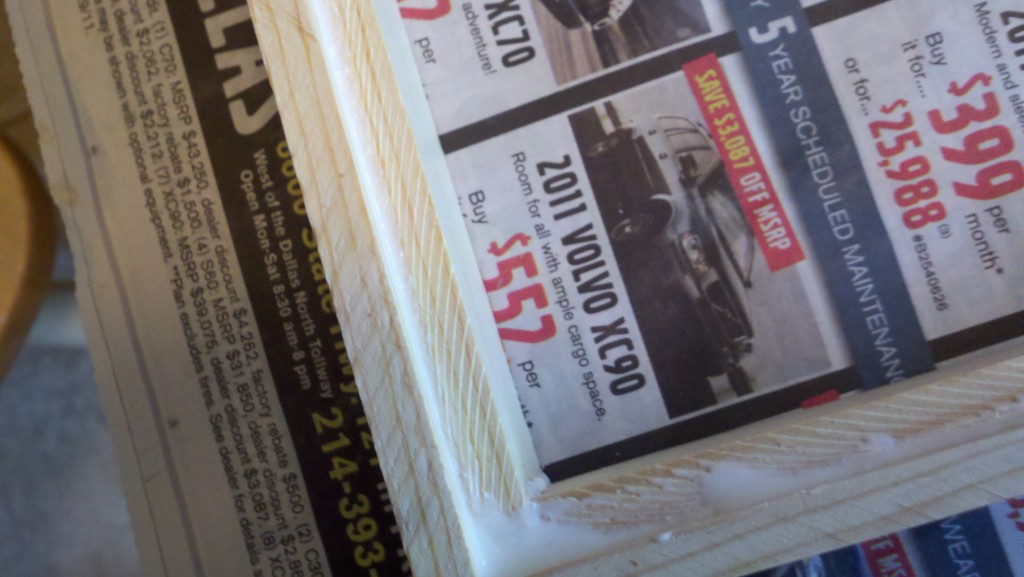
7. The masonite board is then laid down and ready for nailing.
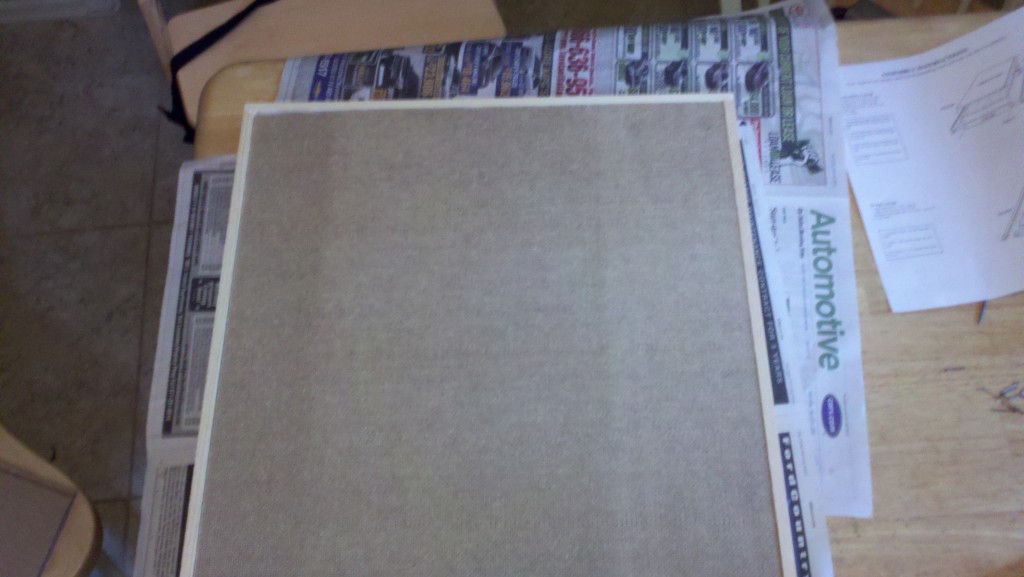
8. Twenty of these 3/4in nails go into this masonite. It’s actually tougher to get the nails through the masonite than the regular wood.
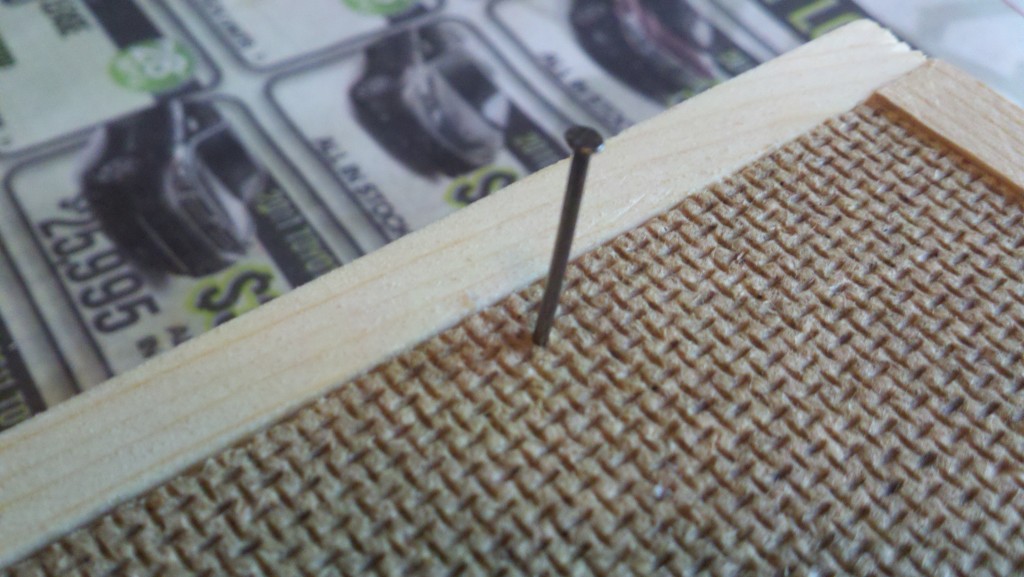
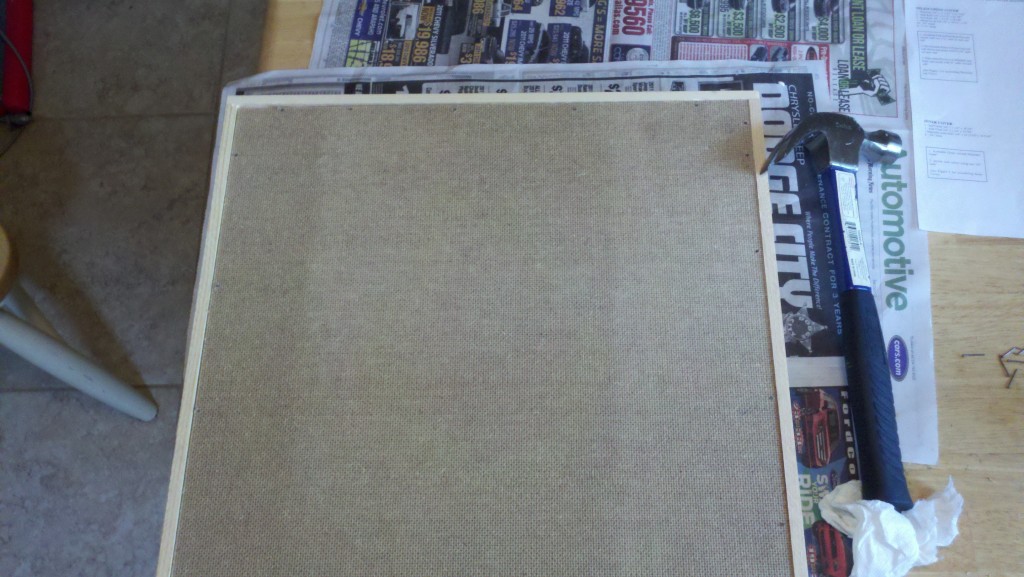
9. The masonite board nailed and glued is depicted below:
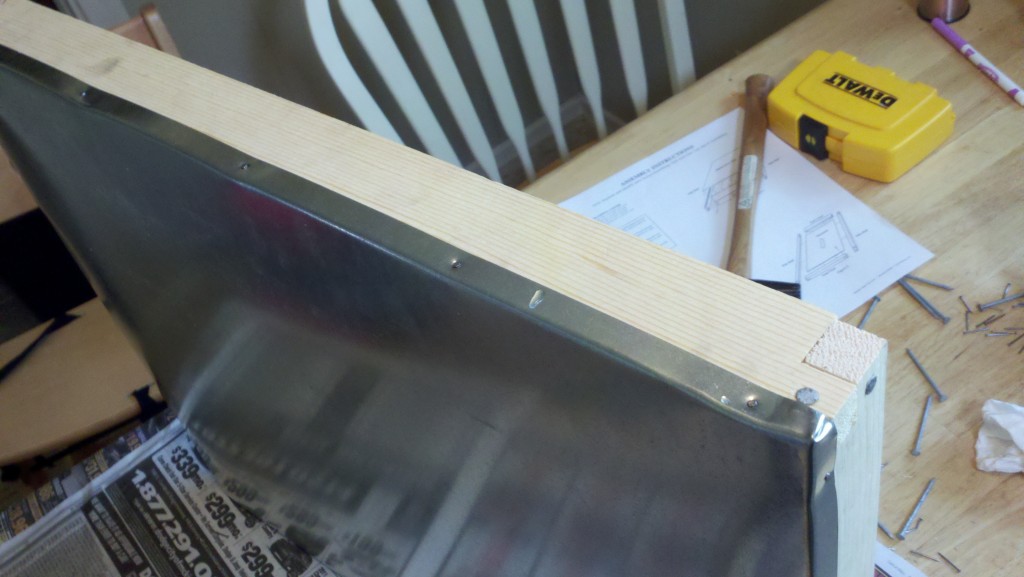
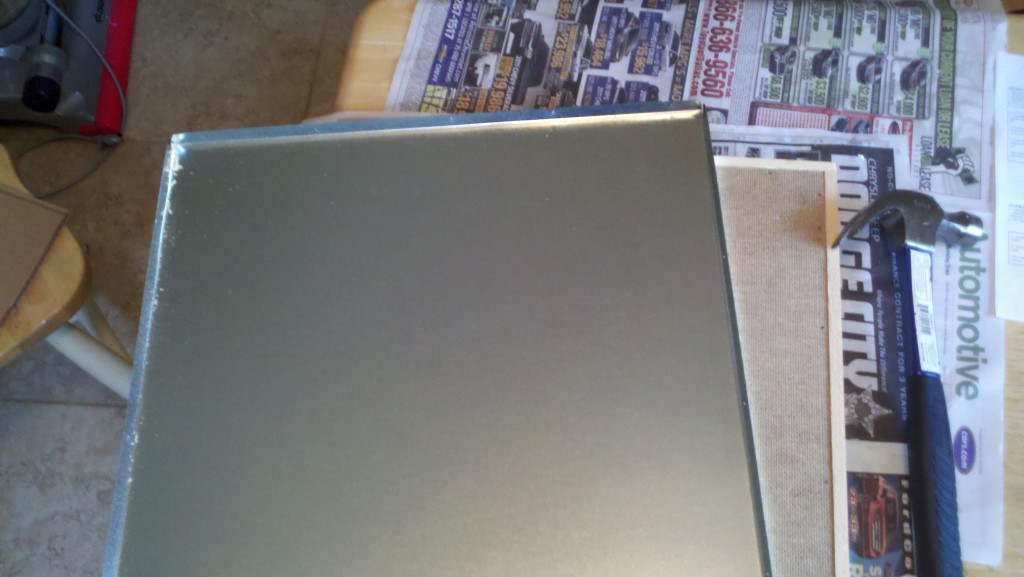
10. Now you have to get the tin cover on top of this contraption. Mine came prefolded. But the fit is tight. I had to use a mallet to get the thing together.
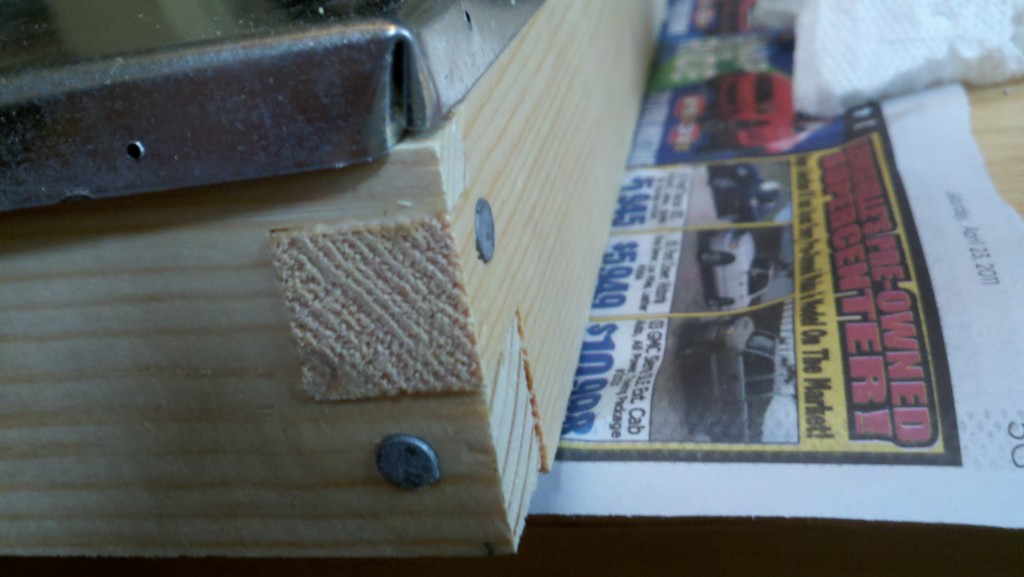
11. This is what it looks like when you are finished. Now you just have to paint the outside.
